Easy Ways to Create Frames in Word
Want to make a word document look striking with a surrounding frame? Here's how if you don't know!
A frame or border in a document can really help attract attention and will highlight the information contained in the document. This template is commonly used for official and valuable documents such as titles, birth certificates, certificates and others.
In the Microsoft Word application, you can add a frame to a specific piece of text or to the entire page of the created document. Microsoft Word offers a variety of frame styles.
You can even use the image according to your own wishes. How do you do it? follow DailySocial.id's explanation below!
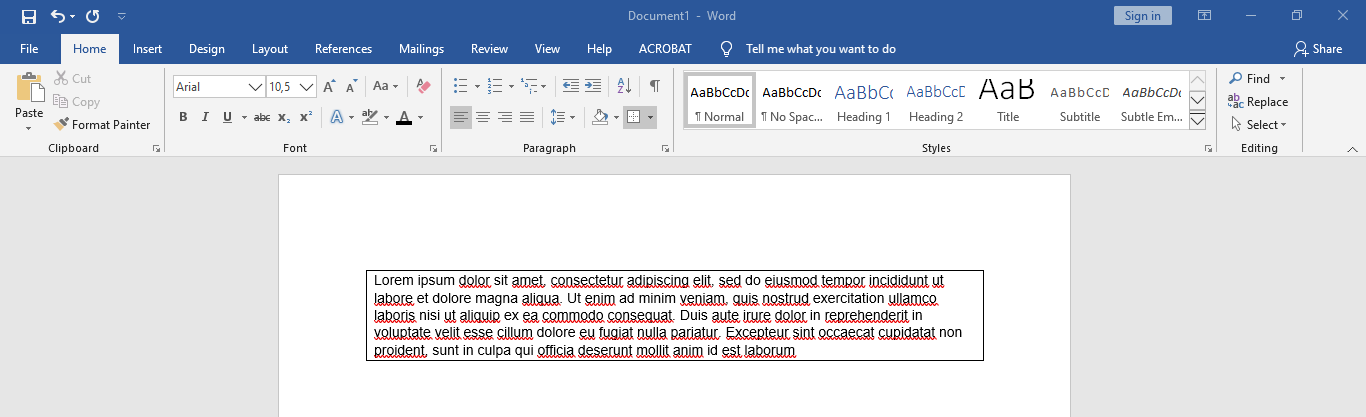
Frame on Specific Text only
- Highlight the text you want to surround the frame. To create a nice frame, highlight text across a paragraph or on a single line. If you highlight multiple lines but not the entire paragraph, each line will have its own frame.
- Select tab Home.
- Pilih Borders then click Outside Borders for a simple look.
- For a more beautiful border display, you can follow the next steps below.
- Pilih Borders and Shading to make a frame. In a normal frame, the resulting frame is just a simple straight line. This feature will allow you to define the appearance of the frame.
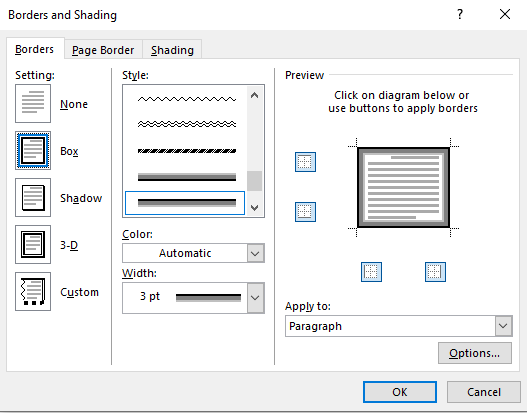
- Select the desired frame type. The choice is Box, Shadow, or 3-D Frame.
- Menu Styles in the middle of the window will show the available frame styles. Use menu Colour to change the line color. Use menu Width to resize the frame border.
- Activate the border of the frame. By default, the frame will form a perfect square. You can press the buttons around the preview to show or remove the border of the frame.
- If you want the frame to be closer or further away from the text, click the button Option. You can adjust the spacing on each side of the frame.
- Click Ok to display the frame.
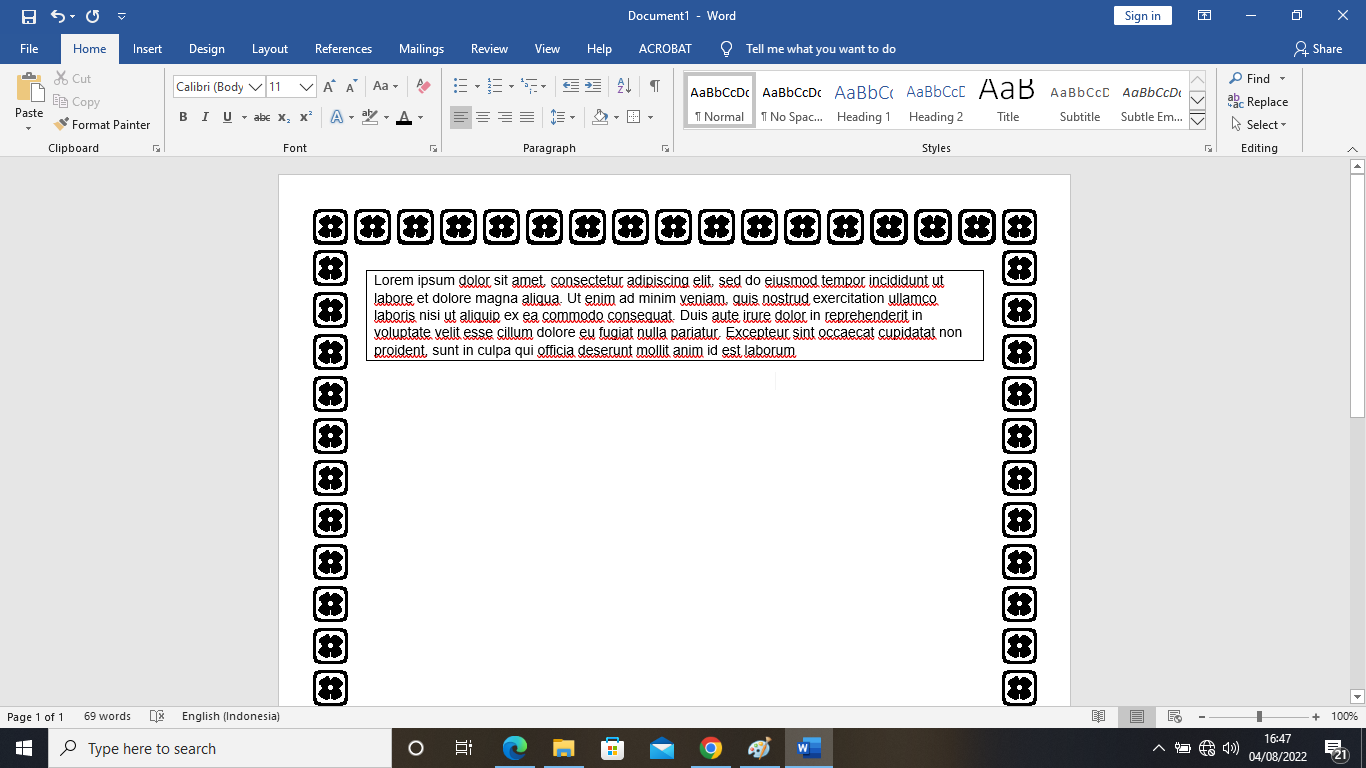
Framing Pages
In this section, the steps you have to take are almost similar to creating a border on text. Here are more details:
- Select the document to be bordered/framed. After that, click Home select icon Borders.
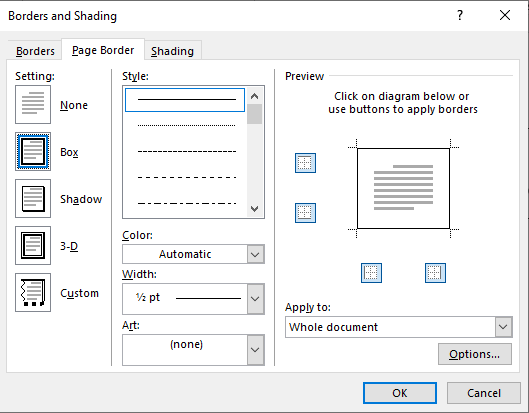
- Click Border and Shading select Page Borders to create a border in page size.
- Select line border on style, make sure all borders are on the edges. This can be seen in the preview section.
- Click OK
- For a more attractive border, you can use the features Compaction which will display a choice of colored borders.
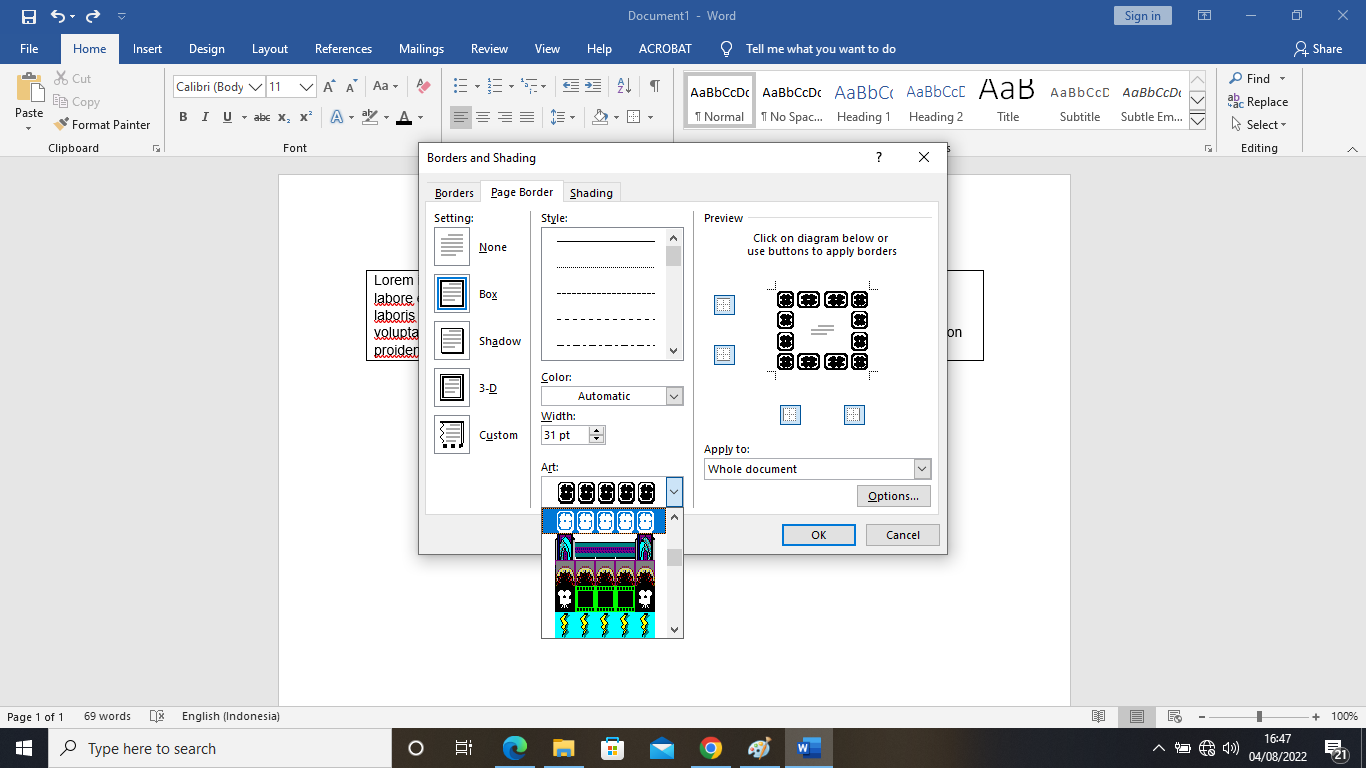
- You can also specify whether you want the border to be made on a specific page only or the entire page via the box Apply to. Don't forget to click OK to save it.
Borders are made on one page is already finished.
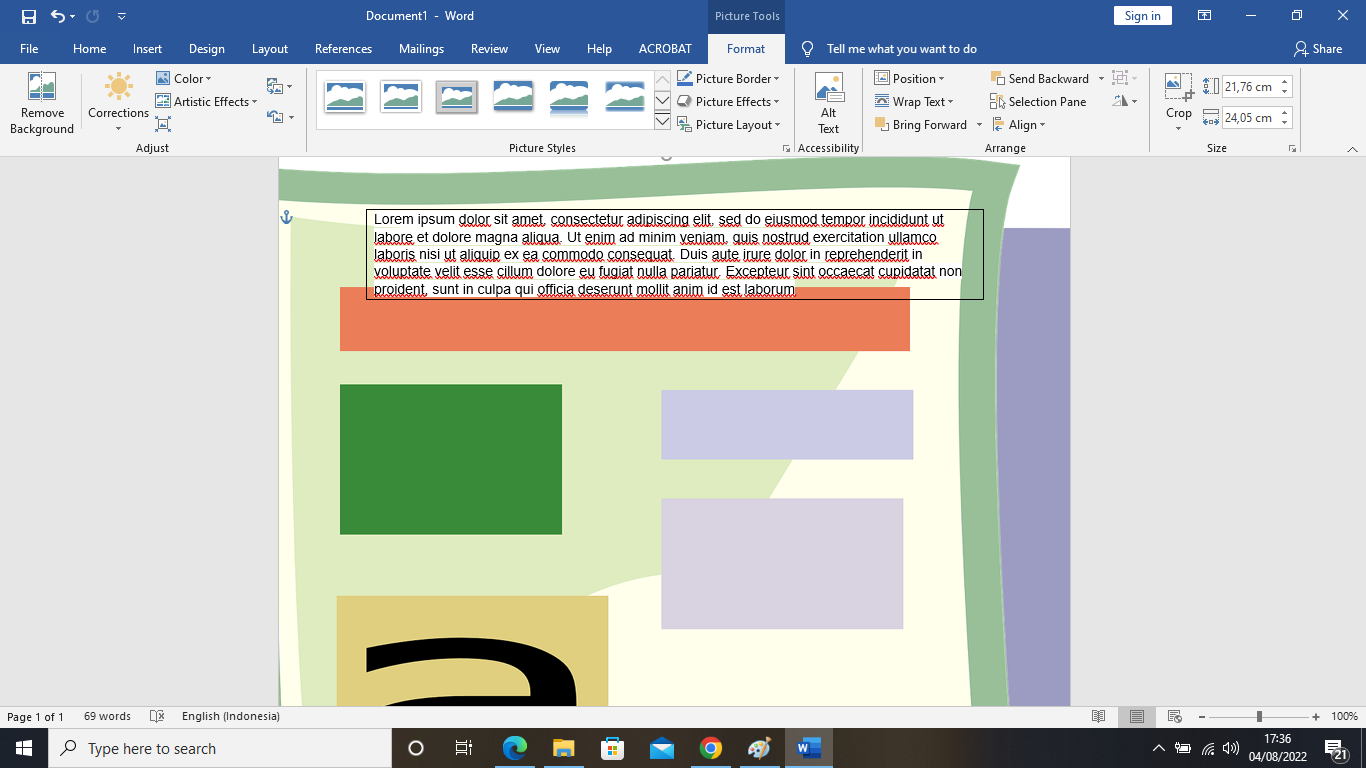
Making Frames with Pictures
Finally, for the results of a much more interesting document. You can use an image as a frame for your document, you know. Here's how:
- Click tab Insertion and select Pictures. Select the image you want to use in the frame.
- Click the image until it appears into the document.
- If the image already appears, select the image and click the tab Format.

- Click button WrapText and select Behind Text. This option will make sure all the text appears above the image file, which is especially useful if you're framed for the full page. You can move the image without worrying about the text being shifted.
Those are some tips that DailySocial.id can share for you in making bingai/border in Microsoft Word. This function can also help you in making some documents, especially certificates for simple events.
Enough with the word application you can make certificates attractively!

Sign up for our
newsletter
Review Order
Monthly
IDR 150.000
Payment Details
Subscribe Monthly
Total payment
By clicking the payment method button, you are read and
agree to the
terms and conditions of Dailysocial.id