Tutorial on Installing a Payment Gateway at an Online Store for Automatic Payments - UMKM Go Digital Series Part VII
So that your online store supports eWallet, Virtual account and QRIS payments
Payment gateways is a service that enables merchants to accept electronic payments or credit card transactions over the internet. In other words, payment gateways function as intermediaries between transactions made by consumers and banks or financial institutions.
When a consumer chooses to pay by credit card or other electronic payment method, the transaction information needs to be verified, forwarded to the relevant financial institution, and received confirmation that the payment was accepted or declined. All this happened in a matter of seconds.
In other words, you as an online shop owner need a third party that specifically offers itself as a payment gateway.
Before continuing, just info, this is the 7th series of the series of guides on MSME Go Digital Series. So, make sure you also read the other series so that your understanding gets better.
List of Payment Gateway Services in Indonesia
- Midtrans (formerly known as Veritrans), one of the leading payment gateways in Indonesia that offers a variety of payment solutions, including credit cards, bank transfers and e-wallets.
- Xendit, offers payment solutions for businesses with features such as virtual accounts, credit cards and direct debit.
- DOKU, one of the pioneers of payment gateways in Indonesia, offers a variety of payment services, including credit cards, bank transfers and offline payments.
- iPaymu, provides payment solutions for SMEs with various payment methods.
- Payfazz, a platform that allows users to make payments, top up credit, pay electricity, and others.
- AyoPay, a payment service that allows transactions through ATMs, mobile banking, minimarkets, and others.
Several other options that also operate in Indonesia:
- my money
- Faspay
- finpay
- NicePay
- Prismalink
- Winpay
- Tripay
Terms of Using Payment Gateway
The requirements for joining a payment gateway may vary depending on the country, regulators, and specifications of the payment gateway company itself. However, generally there are several terms and documents needed to join a payment gateway:
- Business Legal Documents: Usually in the form of Business Establishment Deed, Trade Business License (SIUP), Company Registration Certificate (TDP), or other relevant legal documents in accordance with the regulations of the country where your business operates.
- Bank Account: You must have a bank account in the name of the company to receive funds from transactions made.
- Business Information: Such as business description, business model, estimated transaction volume, type of product or service being sold, etc.
- Identity of the Owner or Administrator: Identification documents such as KTP, passport or other documents may be required.
- Proof of Business Address: This can be a rent letter, electricity bill, or other document that proves your business address.
- Contact Information: Contact details such as email address, phone number and office address.
- Refund Policy: Some payment gateways may require you to have a clear refund policy for your customers.
- Special Approvals: For some types of higher risk businesses, special approvals or additional guarantees may be required.
In addition to the requirements above, it is also important to check the terms and fees charged by the payment gateway before deciding to join. It's a good idea to compare several payment gateway options before making a decision, so you get the best service according to your business needs.
Tripay Payment Gateway Integration Method
In this tutorial, I will provide an example of integrating the Tripay payment gateway system, an alternative that you can use.
- First of all, register yourself to the Tripay service.
- Then, you have to verify your personal data. The process is relatively easy and fast.
- After verification is complete, install the Tripay payment gateway plugin and activate it.
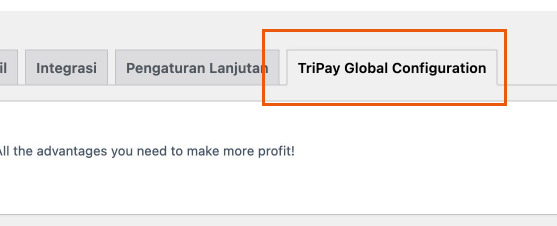
- If it's already installed, click the Woocommerce menu - Settings. On the far right, you will find the new Tripay Global Configuration menu.
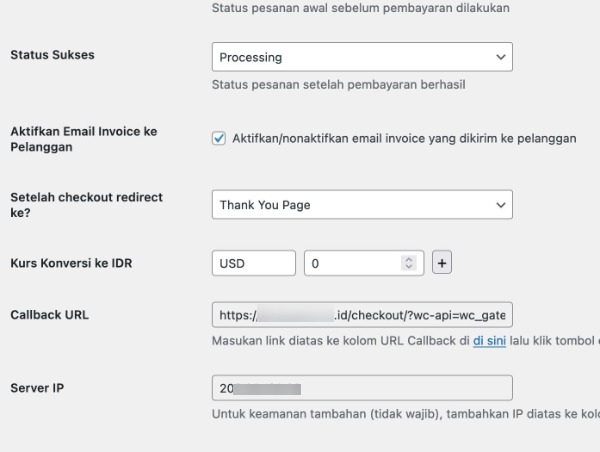
- Fill in the requested data, adjust it to the data in your Tripay account.
- Now, login to your Tripay account.
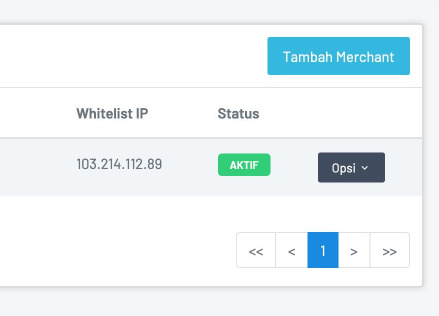
- Click Merchant menu - Add merchant.
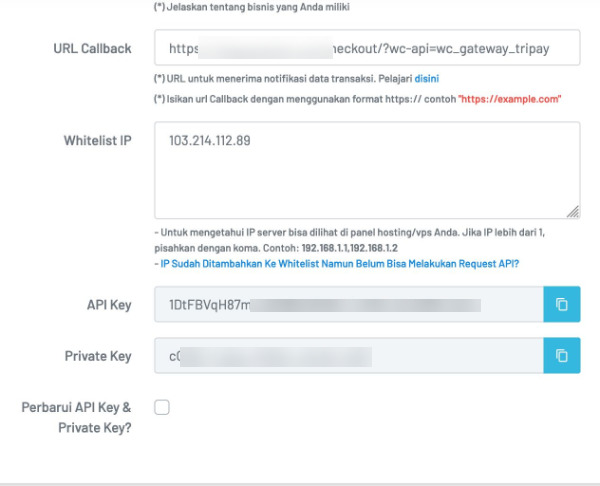
- Fill in all the requested data. If you need a callback url, you can check the settings on your website. Both are interrelated, so they need to be filled simultaneously.

- Including the API and Private Key fields, all the information is in the two panels that you currently open.
- If the configuration above is complete, you can proceed to the next step, namely setting up payment channels.
- Click the Merchant menu in your Tripay account, then click the Options menu at the registered merchant, then click the Set Payment Channel menu.
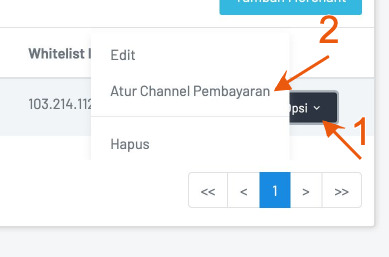
- Select the payment method that you want to provide on the online store.
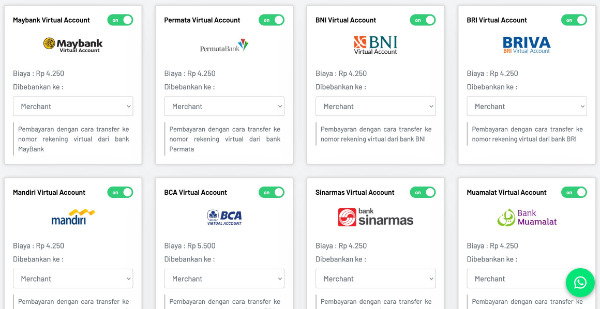
Done, now your shop has an automatic payment system that supports almost all types of eWallet, Qris and local banks.

Sign up for our
newsletter
Review Order
Monthly
IDR 150.000
Payment Details
Subscribe Monthly
Total payment
By clicking the payment method button, you are read and
agree to the
terms and conditions of Dailysocial.id